
The spaceship docked into the top of Mazinger's head is a definite highlight and when your toy is 24 inches tall, how can it not be a separate piece for added play value?
Well, if it's a Second or Third Release when due to cost cutting, it's just a plug permanently attached! Luckily I have the originals, so this was a good excuse to try out my new 3D scanner!
The detail on my scan was a bit soft and as with all the scans on this project, looked as if had been cast in porridge! Still, I was able to add some details in 3D Builder and the resulting prints looked fine when painted up and installed.
I had a junker Mazinger sitting as parts in a box, so I decided to restore it at the same time. Here are the two restorations alongside an original and really, they look fine to the casual eye!
One of the things I loved about the original Mattel releases was they still had their Japanese names on their waists in cool Katakana typefaces! I used gold foil Origami paper to laser print some replacements. Raydeen had some very small kanji characters and it took a super close up photo and lots of time in the vector program to reconstruct it.
As I've mentioned before, Shogun Warriors are mostly blow moulded polythene which is a pain to restore. I had to hand smooth all the scuffing with wet and dry abrasive paper using turps as a lubricant.
Then I had to smooth it further with 5000 grade steel wool before spraying with a Satin Clear acrylic paint (graffiti type, not automotive grade!)
The missing missiles were 3D modelled and printed in two parts so I could paint them separately then push them together (can you guess which is the original and the replacement in this photo?) The missing fist was scanned and printed too.
Mazingers original blow moulded polythene swords were still present, but broken and held together with old slimy, green electrical tape.
After cleaning with turps, I discovered they'd originally been mended with 5 minute epoxy, which was a good idea, but they'd really needed a piece of wire inside to strengthen them, hence the second mending attempt with tape!
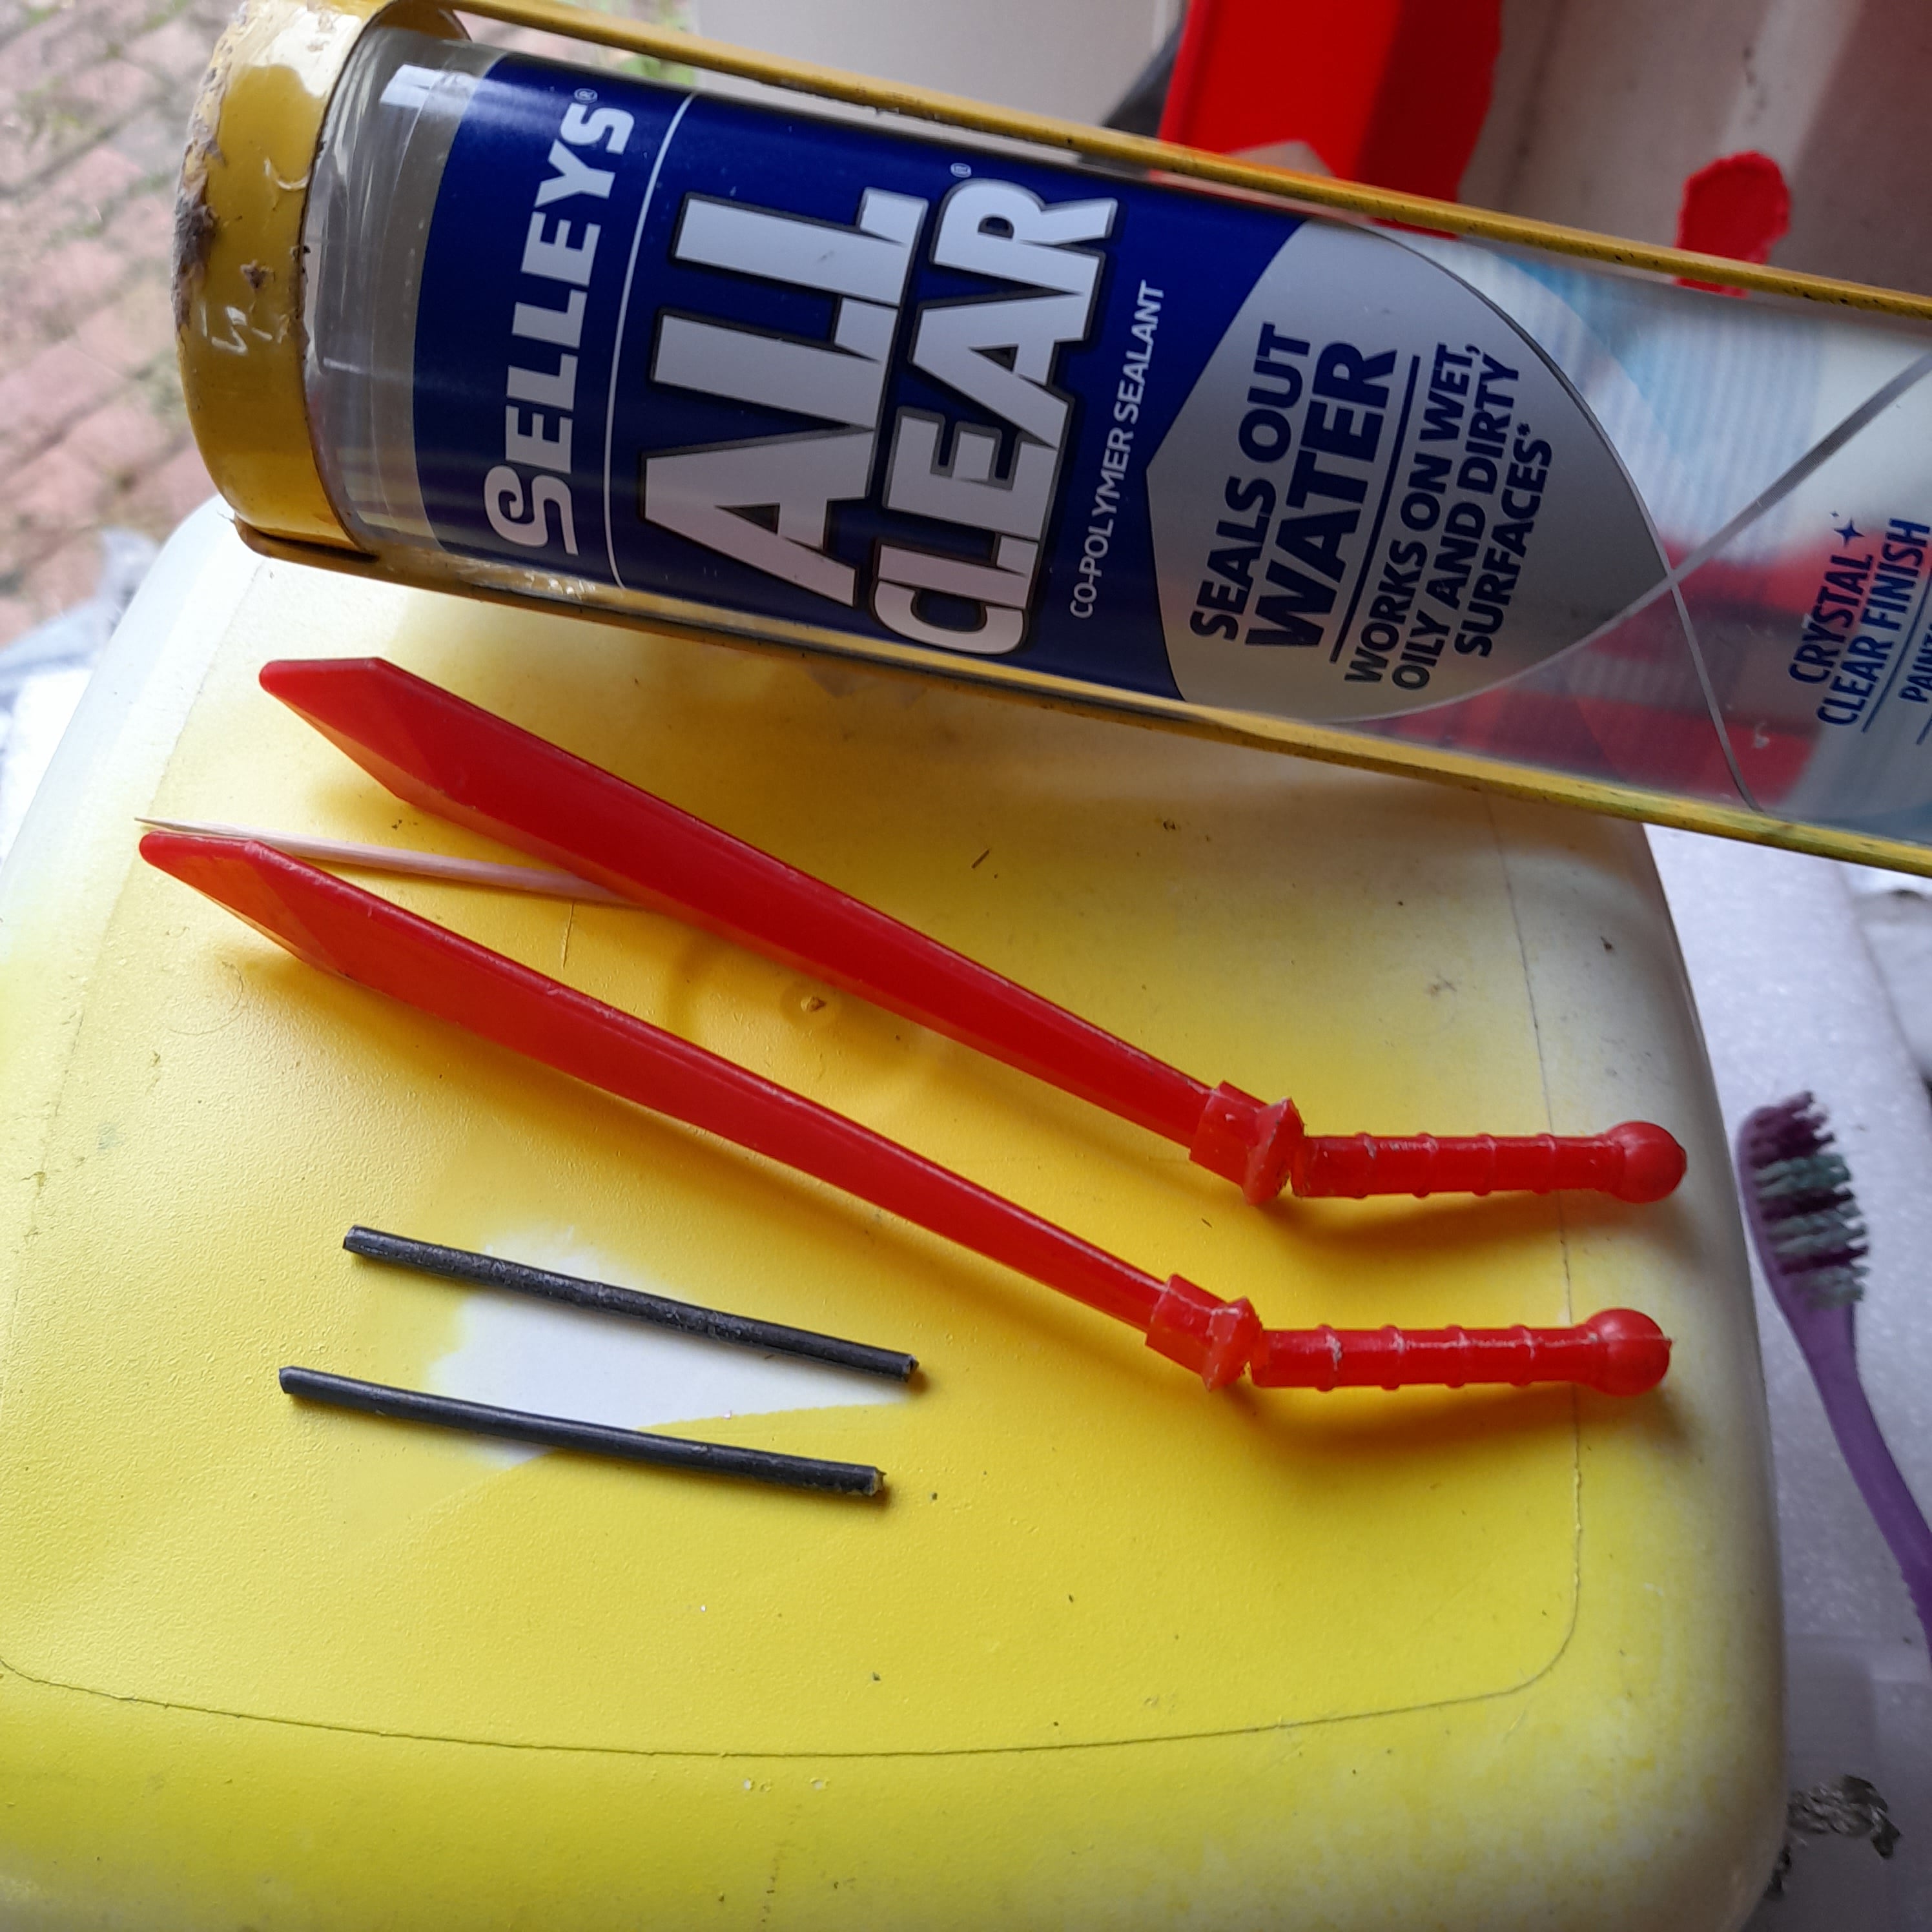
I filled the hollow sword handles with clear co-polymer sealer (a sort of non silicone adhesive that paints nicely) cut some lengths of coat hanger wire and pushed them in through the original moulding holes!
Unfortunately the sword plastic was a bit Translucent, so you could see the shadowy wire inside (I should have used clear Perspex rod!) I solved the problem by lightly steel woolling the polythene, rubbing in some ESP surface prep spray and lightly spraying red enamel paint over the joins.
This is completely ignoring the rule book for polythene, but the prep spray made the paint stick.
(Did I mention working with polythene is a pain?) .......
Lewis
OZ


my god looey, youre a one man toy factory! amazing work! Bill
ReplyDeleteYou are, I agree with Wote. Stunning toy work going on down under at your workshop Looey!
ReplyDelete