
What amazes me with these restorations is how quickly the progress from
original toy box chipped to completed project!
Back in 2005, some readers may recall me mentioning that I saw a beautiful
Product Enterprise SHADO Interceptor, when I visited Whitley. I decided to
pass on the purchase, because I thought £28 was too much to pay.
Stupid me!
However, I do have the Dinky version, although for many years it languished,
lost, tucked away in a box in the attic together with a Corgi Cadillac
Ambulance [which curiously has the original tyres, un-perished!] - But I
digress.
When in 1971, I unboxed it, I was horrified that the people at Dinky
had decide to pain it a lovely shade of Metallic Vomit Green [perhaps they
called it bronze], but I HATED the colour... What planet were they on???
A year later, I disassembled it, and sprayed it white. Unfortunately, at the age of
12 I lacked the skill and expertise to do a job that would do this beautiful
model, otherwise, justice.
So there it languished, boxed up, surviving four
house moves, essentially lost, as I had unsuccessfully looked for it before.
Until I was up in our attic a little while back, and decided to look in a different
location. AND THERE IT WAS!
So, a few days before the Jubilee, I set about disassembling it and soaking
the two fuselage halves in a strong paint stripper for several days.
This was part of the end result.

On Saturday the 4th June, I began spraying all the metal components, the upper
fuselage was just primed with Grey and the lower one had the vinyl skids
bound with masking tape as I planned to keep the original colour there. I still
want this to resemble the toy I had all those years ago.

The next bit proved a little tricky as I needed to spray certain sections silver as
per the original model. I used some very thin masking tape to ensure I kept
the razor sharp lines and the rest was then bound up with ordinary masking
tape, and off I merrily went.
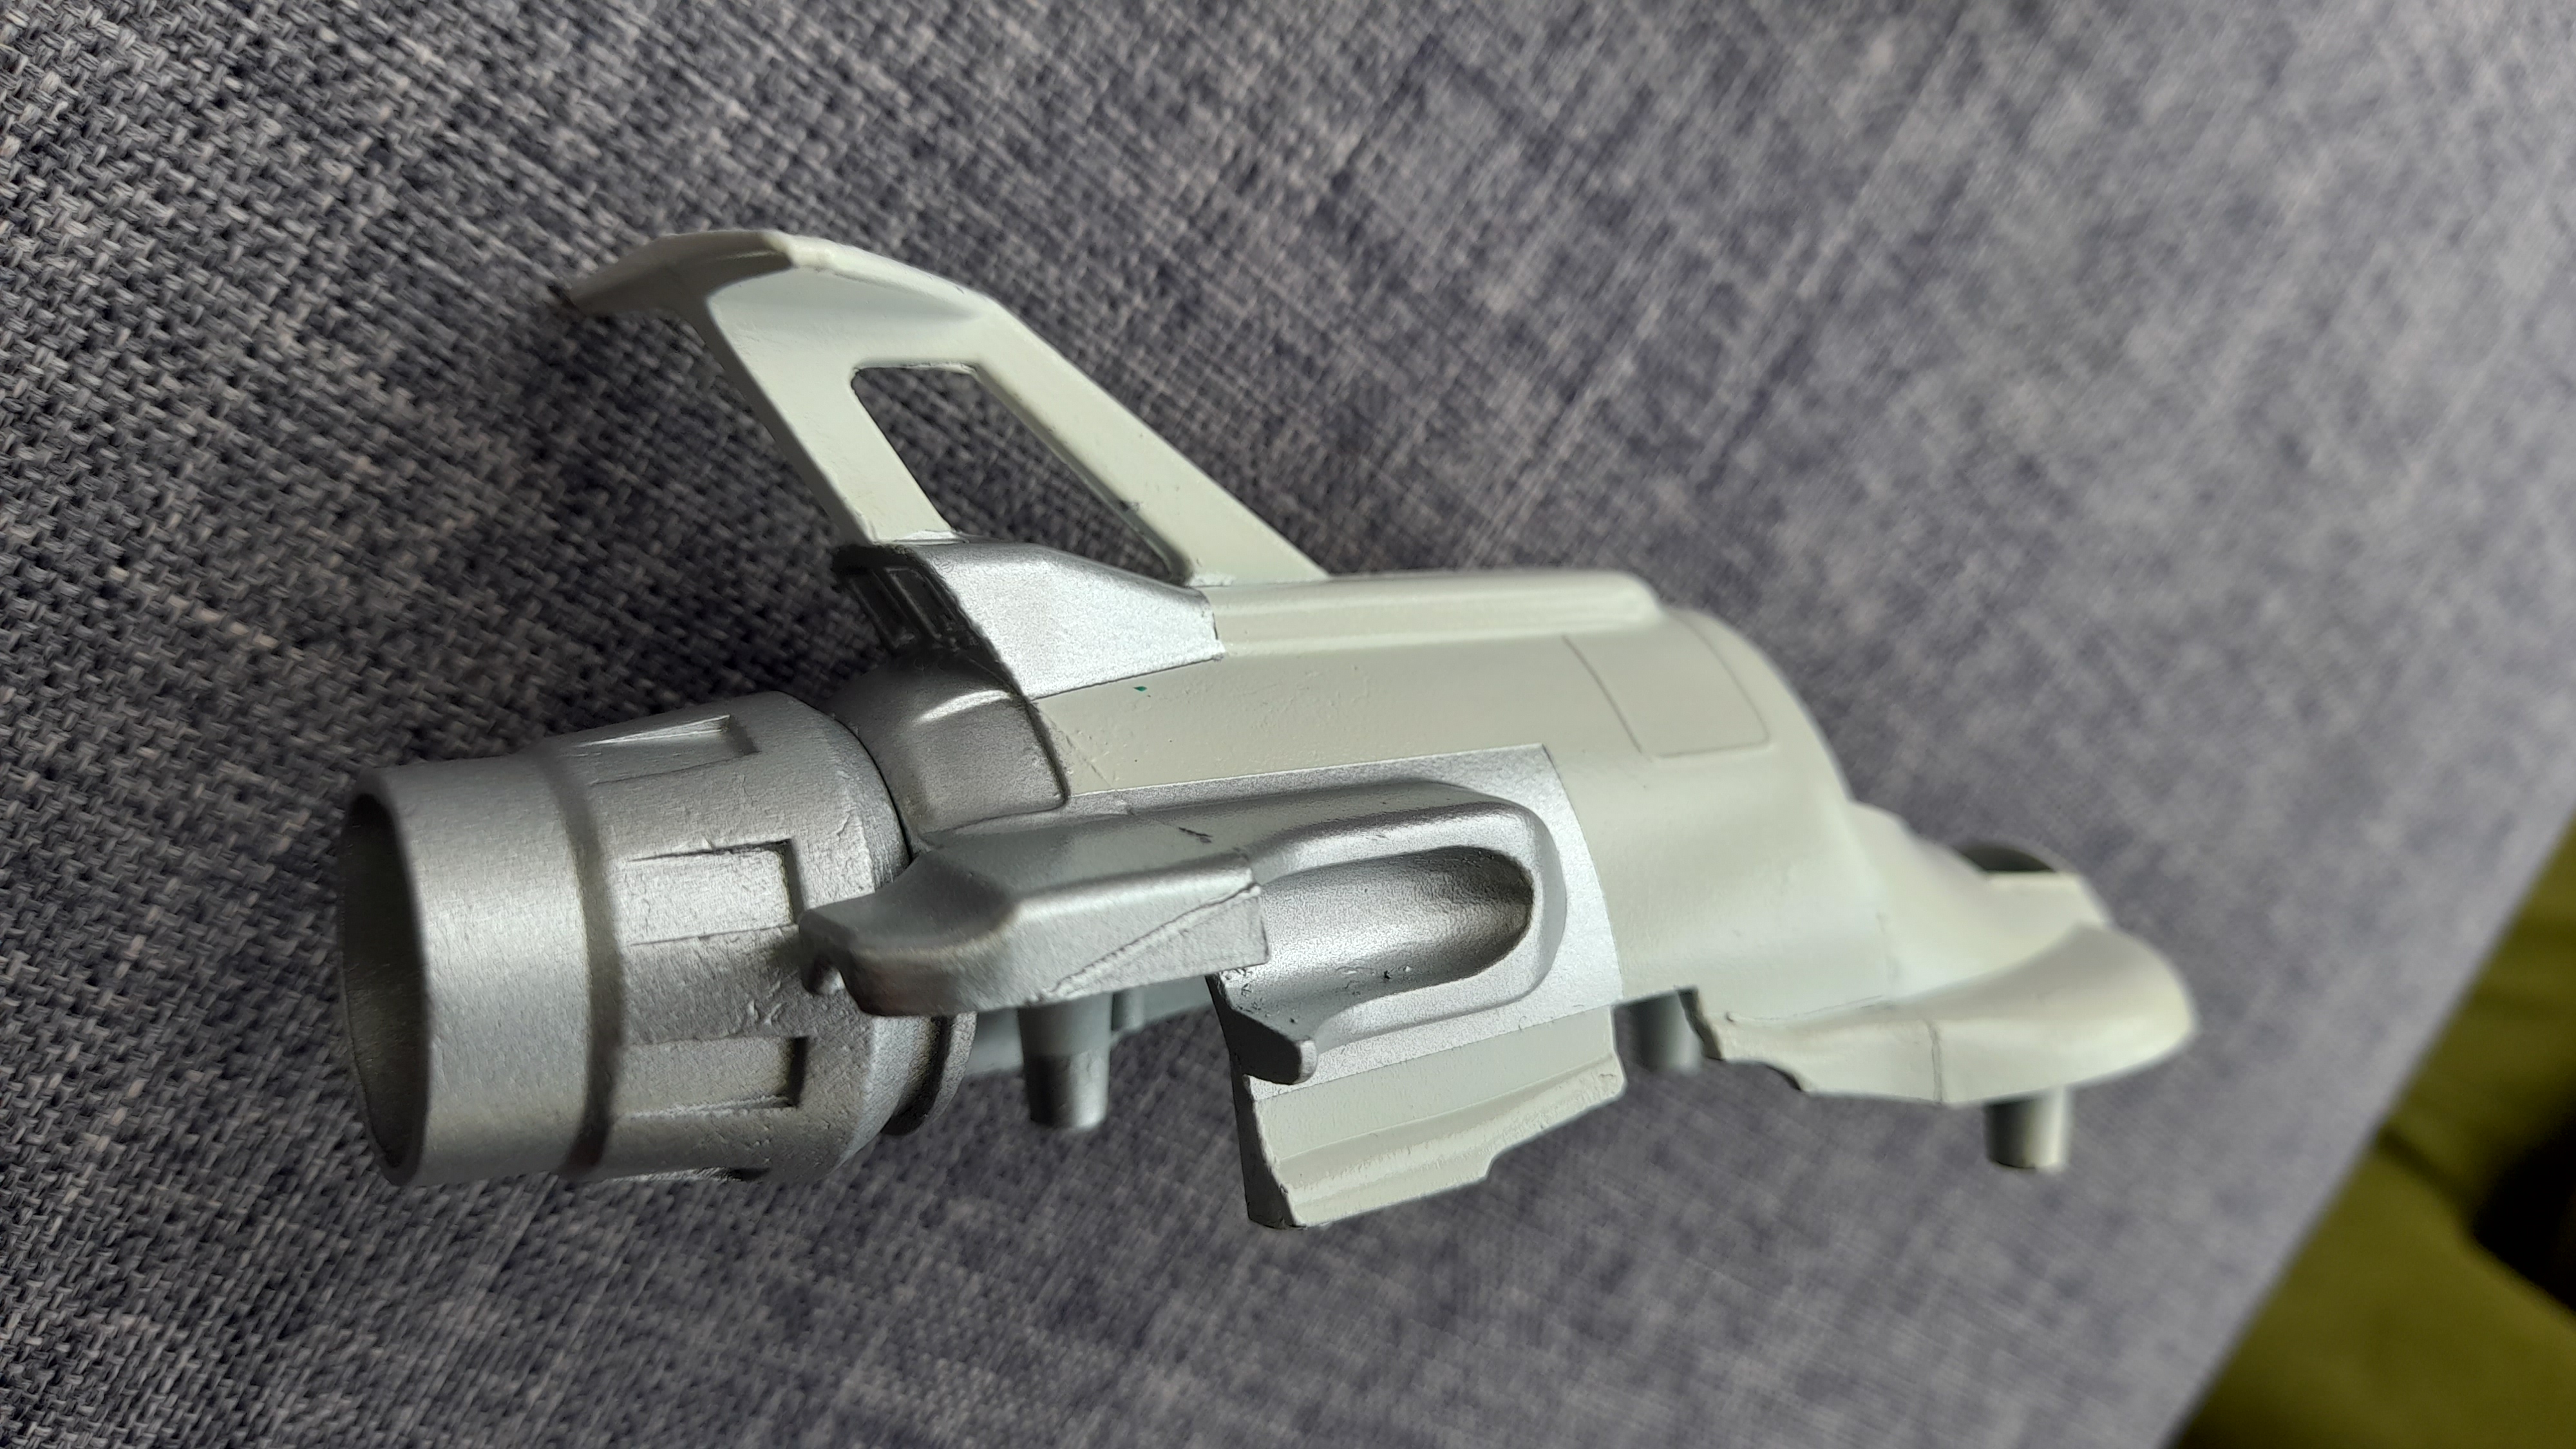
Once all the fuselage masking came off, this was the end result...


The next bit was to print off the waterslide decals, creating them from some
original photos on the Italian UFO fan site was fun. Applying them wasn't, as
some kept on ripping or ending up not quite straight.


After several HOURS [!] I had finished, this was last night, the 10th of June.
With the outside light fading, I completed the last bit of clear lacquering, and
sat down to watch some enjoyable telly.
When I got up this morning I checked the completed vehicle, the clear lacquer
had hardened and it was ready to have the skid masking removed and re-assembled.


Finally some Matt Black, and final assembly, complete with a reproduction
missile. I still have most of the original missile, but it had cracked and the
nose cone was missing. All the screws tightened nicely, and it still works just
as it did when I disappointingly unboxed it in 1971.

Ready for interception of UFO on positive track!


As a footnote, I did notice that the canopy has a small crack in it, so at some
I'm going to replace this with a reproduction. But no rush.
Bill Everatt
Wales
I like that.
ReplyDeleteNice job.
ReplyDeleteBeautiful restoration Bill. With all the effort. Looks great in white!
ReplyDeleteWith? Worth!
ReplyDeleteI've noticed that this camera has introduced digital artifacts into the photo. The actual finish is very smooth and quite shiny, not quite as these pictures depict.
DeleteI'm really very happy with it. At last I've got a proper SHADO Interceptor as I always wanted.
Beautiful Work!
ReplyDeleteI read that they're coming out with a new, larger scale version of the old Dinky Interceptor.
Lovely, lovely work! I share your pain and hopefully some day, your triumph! I've bought a vomit green fixer-upper from a comic store in Melbourne with the aim of creating the toy i never had as a kid. I thought your choice to leave the under gear orange was interesting as the paint jobs I've seen on Google tend to paint the skids silver. I'll need to 3D model a replacment leg and torpedo. I'm impressed with your DIY decals! I think I'll eschew those to retain a more toy like appearance. I want my colour scheme to match the original box illustration which had an almost fluoro red anti-dazzle panel!
ReplyDeleteYes, I thought long and hard about painting the landing skis, but I wanted to retain just a little of the original toy.
DeleteThat's a good point about the box illustration. The Plastic insert which contains the Anti Dazzle Panel together with the Thrusters is actually Red Plastic, the same colour as on the box. It's just chromed over.
Even if the toy looked like the box illustration, that 11 year old kid would have been happier.
What must they have been thinking? All my mates in school at the time, also thought is was a naff choice. So the experts at Dinky got it wrong.
Really nice!
ReplyDeleteReally nice!
ReplyDeleteExcellent. I never had this toy as a kid, but I got one made by... h'mm, can't quite recall - Product Enterprise or Character Options... a few years back.
ReplyDeleteIt'll be very collectable now Kid, what you got.
DeleteSo as a footnote, I finally managed to get a correct colour cockpit canopy. The replacement was a perfect fit.
DeleteGot to say I'm very happy with the result. The Interceptor now lives in a cabinet next to a product Enterprise SPV.